This manual assumes that you have basic knowledge of Tensorflow and how to use it in Python. Normally, one who uses Tensorflow to build a Neural Network will both train and deploy in Python. However deployment a trained Neural Network in C++ rather than Python gives you more benefit especially in term of speed and efficiency. This is also the case for Robotics application. The main procedure includes building and training the Neural Network in Python, exporting the trained network to file which can be exploiting in C++ during deployment.
-
Preparing Tensorflow as library to work with CMake. Officially, Tensorflow can be deployed in C++ with bazel as shown in official guide. However, if you want to use Tensorflow-based network with your available resouces (always the case for Robotics application), using bazel makes everything more complicated. I found a github repo, tensorflow_cc, which facilitates this CMake preparation of Tensorflow “libraries”. It all tested and worked well on my system. Please following the Readme on that repo for details.
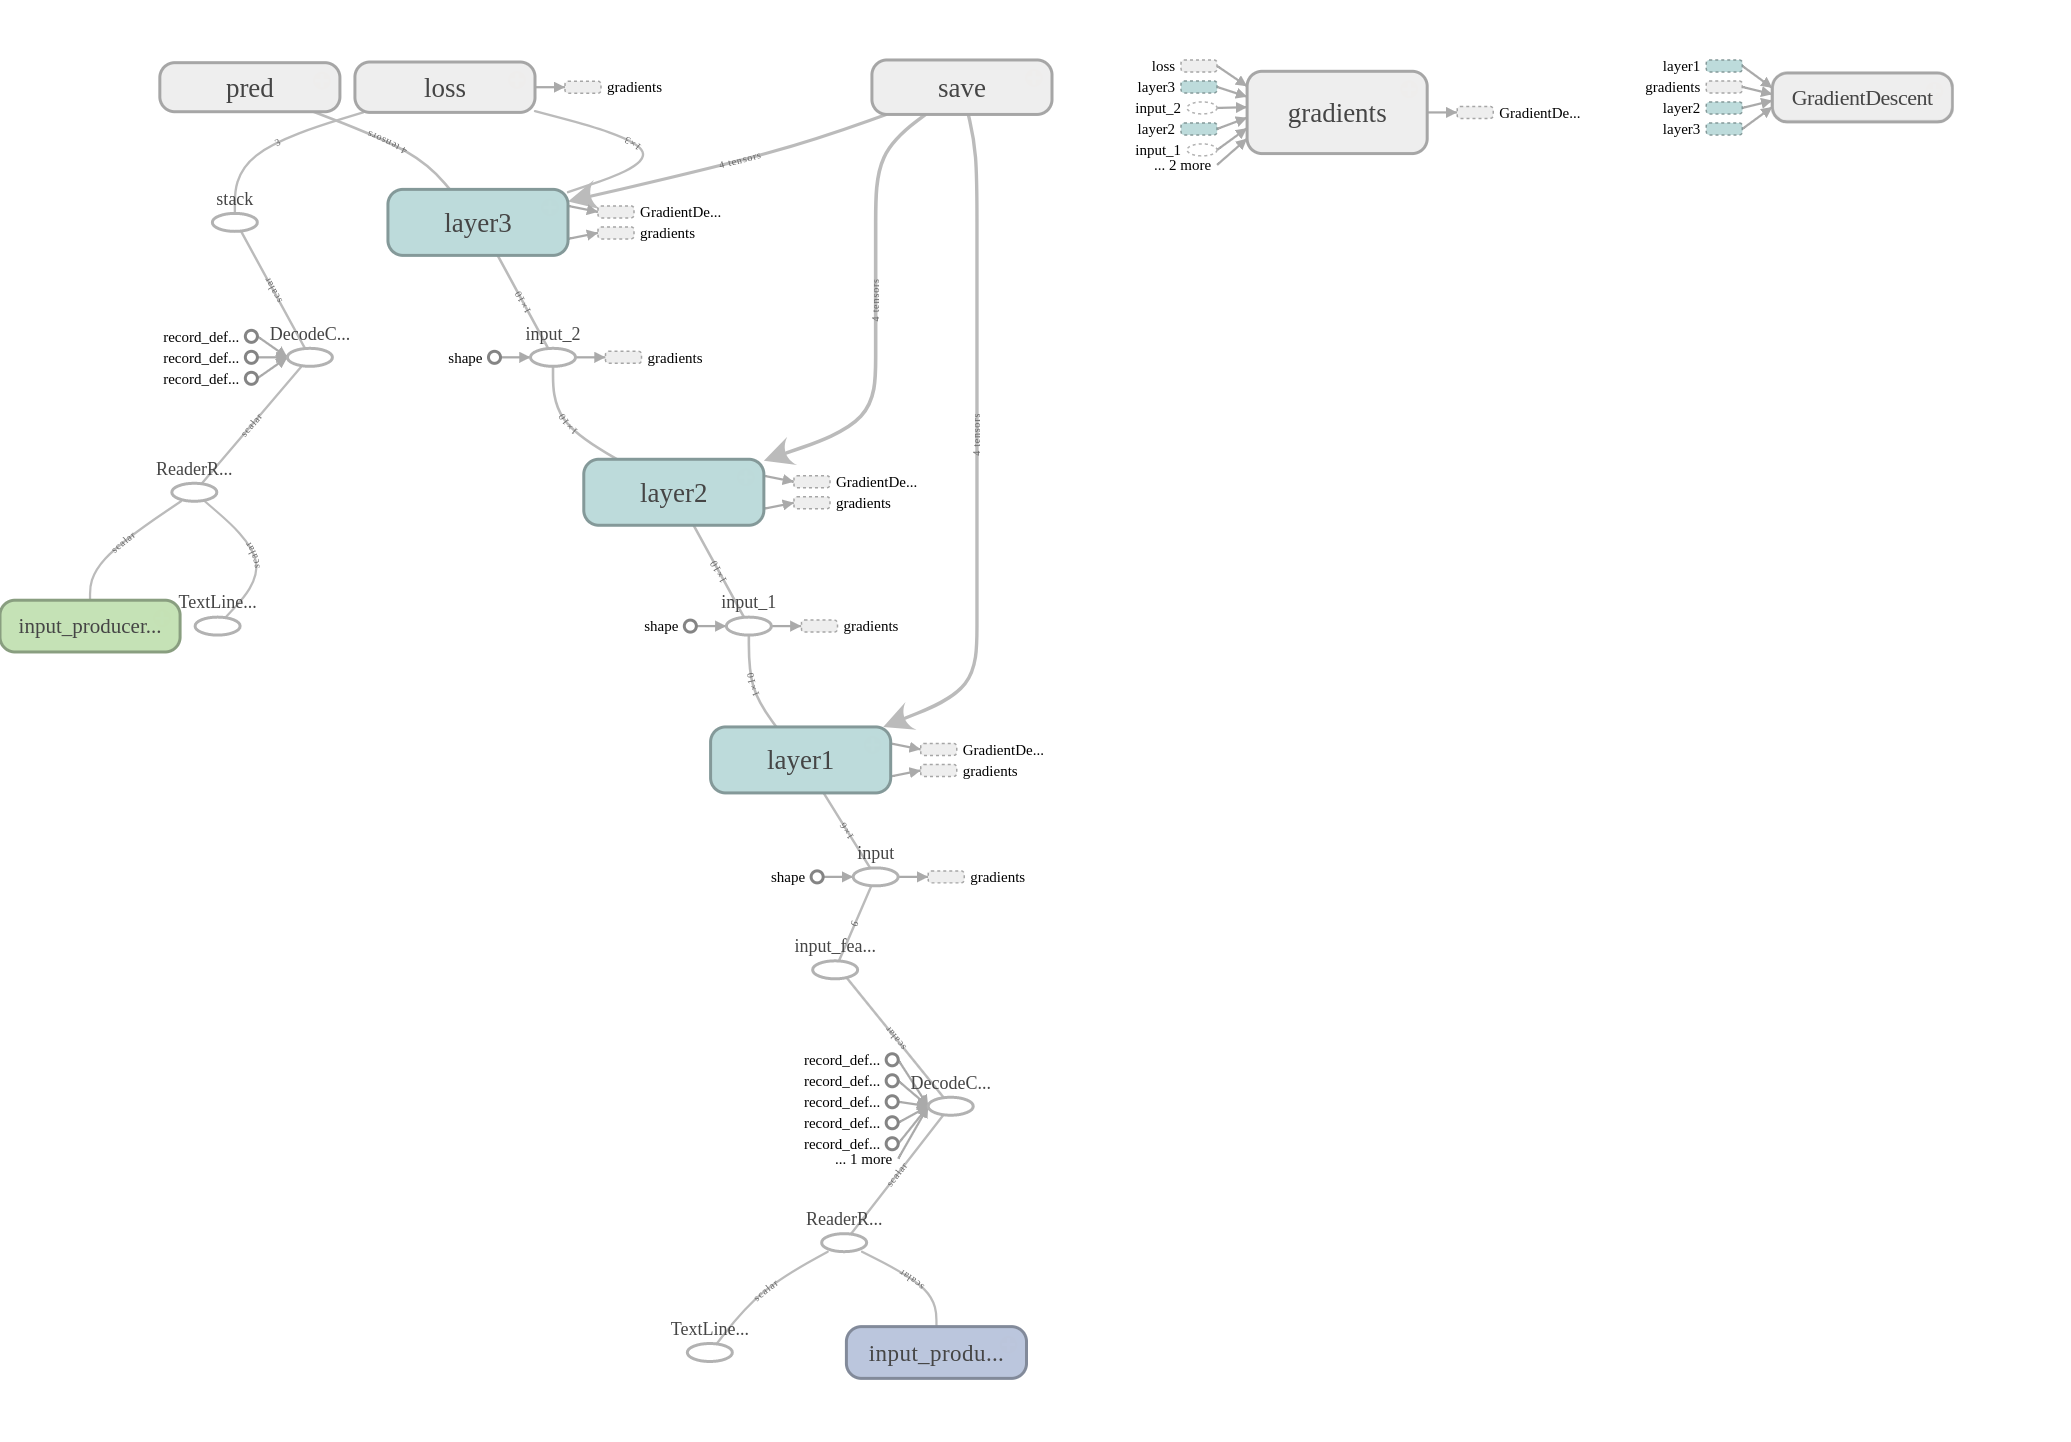
- Building your Neuron Network graph. Remember to explicitly name the input and output of your graph. It will facilitate your future a lot! An example of input and output name can be as following:
- Input is input_features:
col1, col2, col3, col4, col5, col6 = tf.decode_csv(value_in, record_defaults=record_defaults_in) features = tf.stack( [col1, col2, col3, col4, col5, col6], name='input_features') - Output is layer_name/activation:
  with tf.name_scope('Wx_plus_b'):
  	preactivate = tf.matmul(input_tensor, weights) + biases
 	tf.summary.histogram('pre_activations', preactivate)
  activations = act(preactivate, name='activation')
Please note that the output is not activation only because the above code belongs to a layer definition, thus the output name should also include the *
* as `full path`.
- Input is input_features:
- Save the pure Neural Network graph without any parameters information:
tf.train.write_graph(sess.graph_def, model_dir, graph_name)with:
- sess is TensorFlow session
- graph_name is the saved name of your pure NN graph
- Save the trained checkpoint, which contains all trainable parameters information of your graph. This can be done after some training step, e.g 10 steps:
saver.save(sess, checkpoint_prefix, global_step=i)with:
- checkpoint_prefix is the prefix of all checkpoint names. The fullname of a checkpoint will include the training step when it is saved, defined by global_step.
- Freeze the trained graph with trained parameters. It can be done thanks to the freeze_graph tool from TensorFlow:
freeze_graph.freeze_graph(input_graph_path, input_saver_def_path,
                       input_binary, input_checkpoint_path,
                       output_node_names, restore_op_name,
                       filename_tensor_name, output_graph_path,
                       clear_devices, "")
with:
- output_node_names is the *
/activation* - input_checkpoint_path is the full path to the saved checkpoint file you want to load parameters, for example:
input_checkpoint_path = os.path.join(train_dir, 'saved_checkpoint') + "-1000" - input_graph_path is the full path to the input_graph_name, which is graph_name in step 3.
- output_graph_path is the full path to the output_graph_name, which is the saved name for your deployed graph in C++.
- output_node_names is the *
- Deploy in C++. You first have to setup your CMake file as in step 1 to be able to include TensorFlow libraries. Then you have to import the exported graph from step 5 for deployment. Full official example can be found here. In short, it can be done as following:
Status LoadGraph(const string& graph_file_name, std::unique_ptr<tensorflow::Session>* session)
{
  tensorflow::GraphDef graph_def;
  Status load_graph_status =
     ReadBinaryProto(tensorflow::Env::Default(),
         graph_file_name, &graph_def);
  if (!load_graph_status.ok()) {
     return tensorflow::errors::NotFound(
         "Failed to load compute graph at '",
                     graph_file_name, "'");
  }
  session->reset(tensorflow::NewSession(tensorflow::SessionOptions()));
  Status session_create_status = (*session)->Create(graph_def);
  if (!session_create_status.ok()) {
     return session_create_status;
  }
  return Status::OK();
}
and:
 input_layer = "input_features";// the same at step 2
 output_layer = "layer3/activation";// the same at step 2

 // full path to your saved frozen graph
 string graph_path = tensorflow::io::JoinPath(root_dir, graph);
 LoadGraph(graph_path, &session);
Steps 2-5 as above are inspired from (1).
My simple example can be found here
Reference
(1) Exporting trained Tensorflow models to C++ the right way


